Galaxy 7600GS: just an ocean of surprises

Author:
Date: 07.06.2006 |
|
Preface
Products by GALAXY Technology are rare guests in our test lab although the company has been long and successfully operating on the market of graphic accelerators which is a key direction for its business. This brand name acquired popularity in Russia in the times of prosperity for graphic accelerators on the base of GeForce 6800 series, which we covered previously. As to the present moment, the company's name may sound much louder because the company follows a brave approach in creating own products.
Today we are reviewing a really non-typical representative of the mid-end class - the Galaxy 7600GS video card. Running ahead, let me note that the card has brought many surprises, but traditionally let's start with the packaging and package bundle.
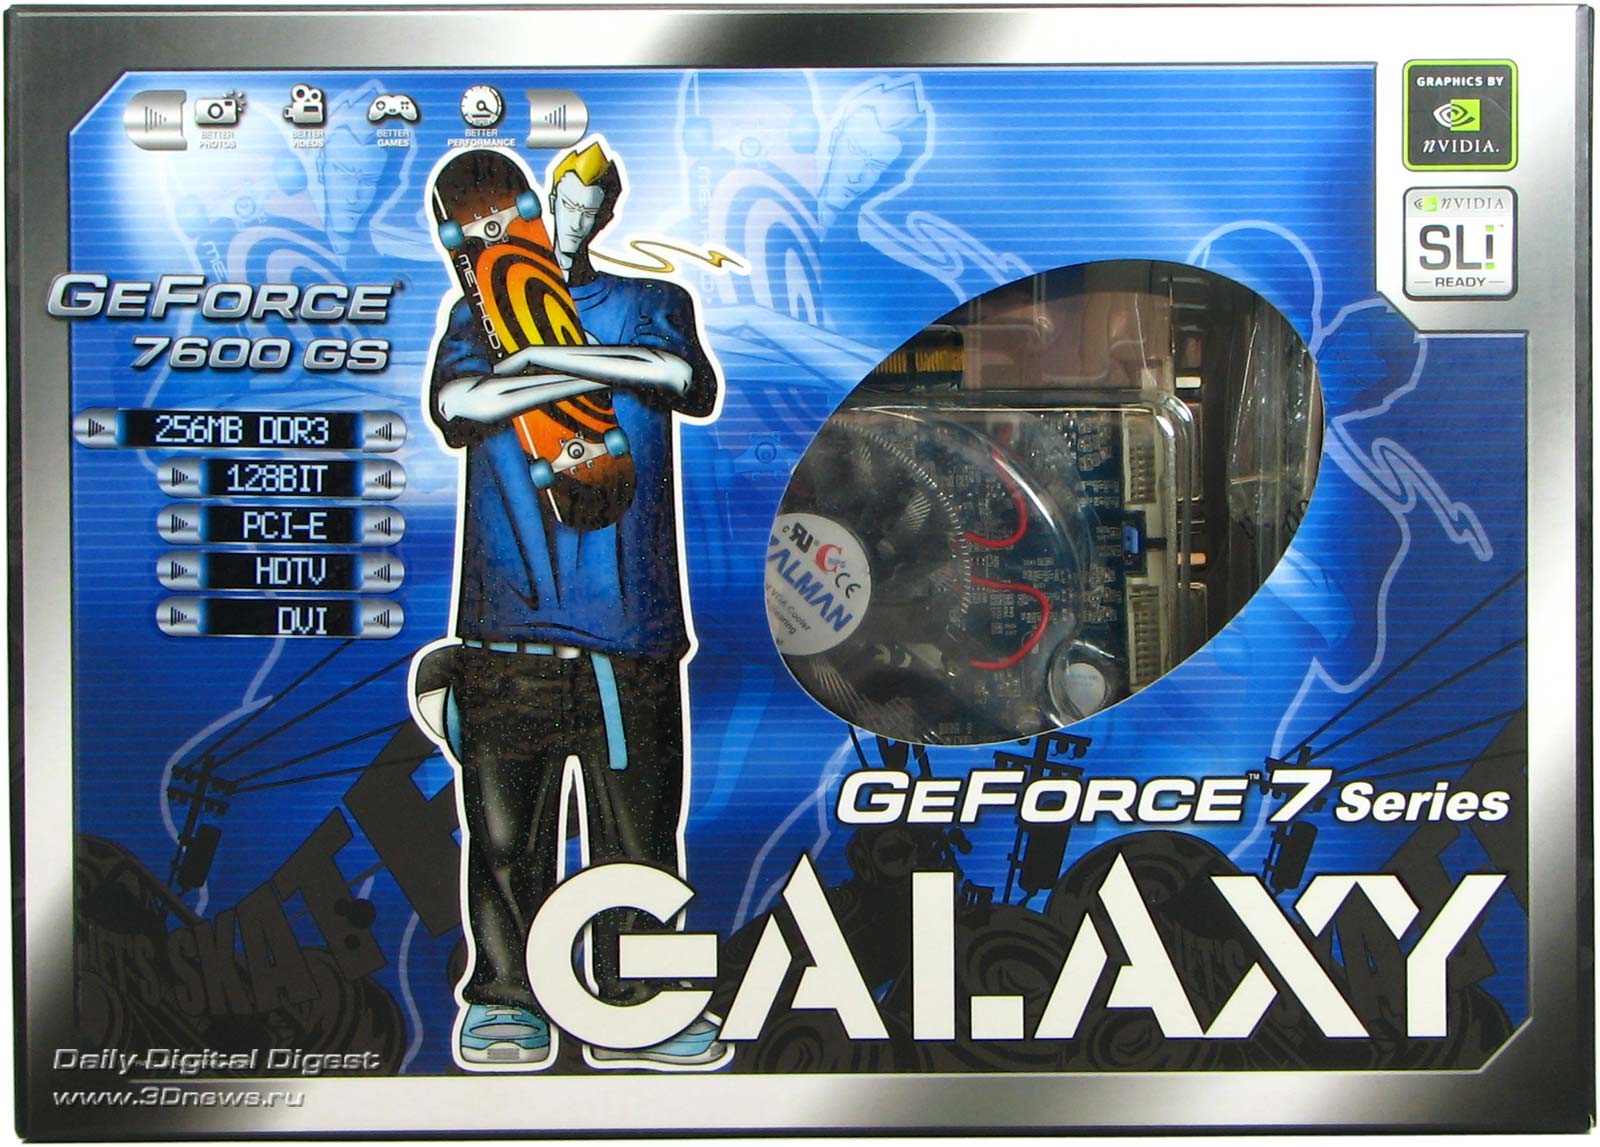
What immediately catches the eye is that there no aliens or magic heroes on the box - instead, it shows a typical teenager with a skate-board in hands as an image of the buyers of this product, to all appearances. Through the oval window on the front side we can see the video card itself and ... a cooler by Zalman! The first surprise. :)
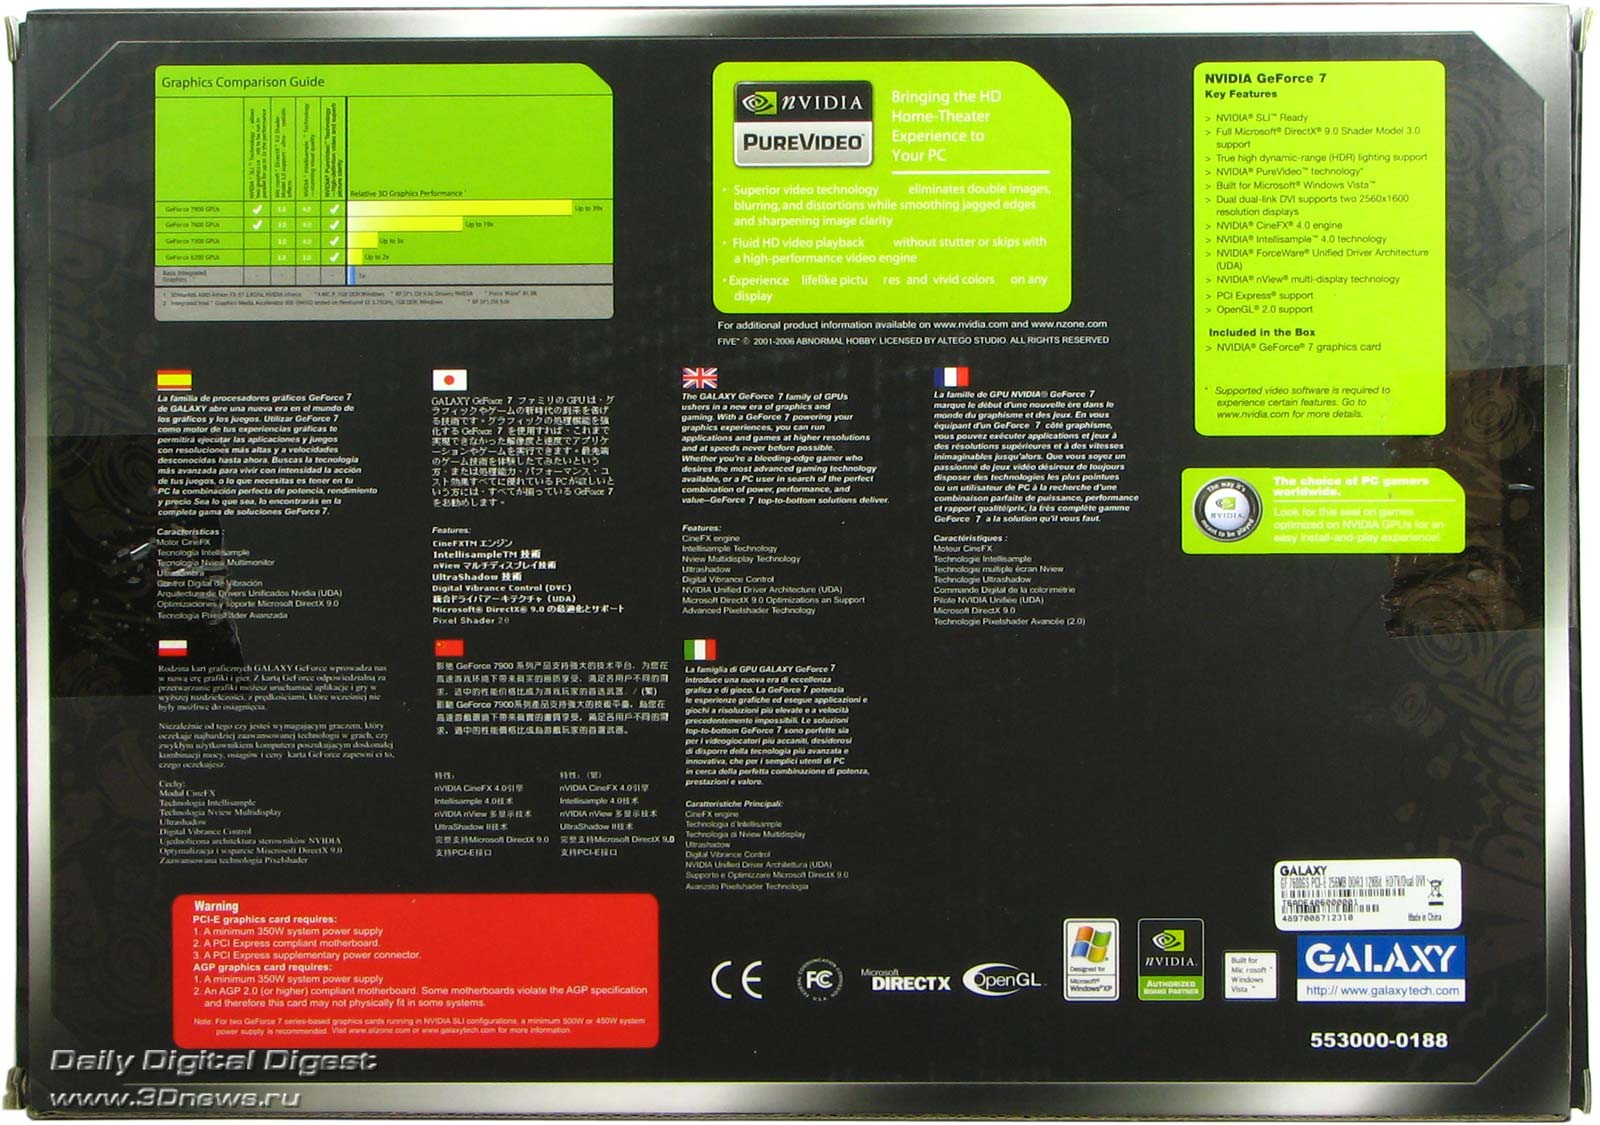
There is nothing special on the reverse side of the box but for the customary enumeration of all the features typical of the GeForce 7 generation video cards. Of the existing features is the power consumption to be no less than 350 W.
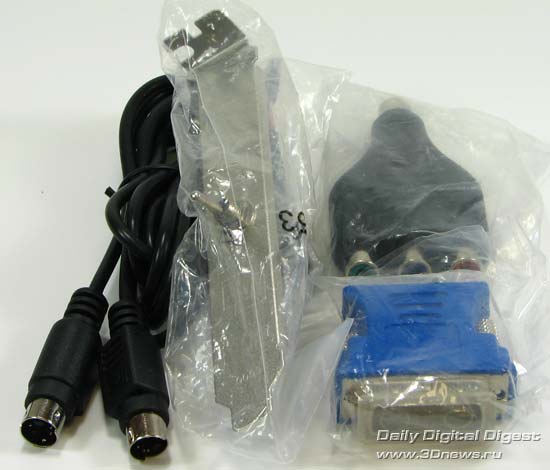
The kit of accessories is quite standard:
- a user's guide + CD with drivers (not shown on the photo)
- DVI/D-SUB adapter
- HDTV-out adapter
- S-Video cable
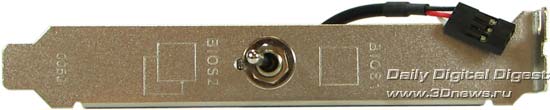
- a plate to switch BIOSes
We now dwell on the last item. If two BIOSes on motherboards is no longer a wonder for anyone, then two BIOSes on video cards is still an exotic. Why is that needed? The official guide on dual-bios on the manufacturer's web site assumes using the second BIOS as a backup copy during (overclocking) experiments with the master BIOS. Anyway, division into the master and backup is quite conditional. Just snap the switch on the external strap to another position and here you are - the video card operates another BIOS. The strap with the switch is inserted instead of the JP2 jumper on the front side of the video card (the jumper is of blue color, positioned between the DVI connectors).
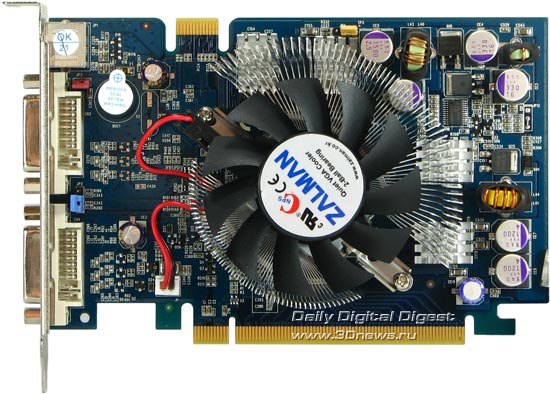
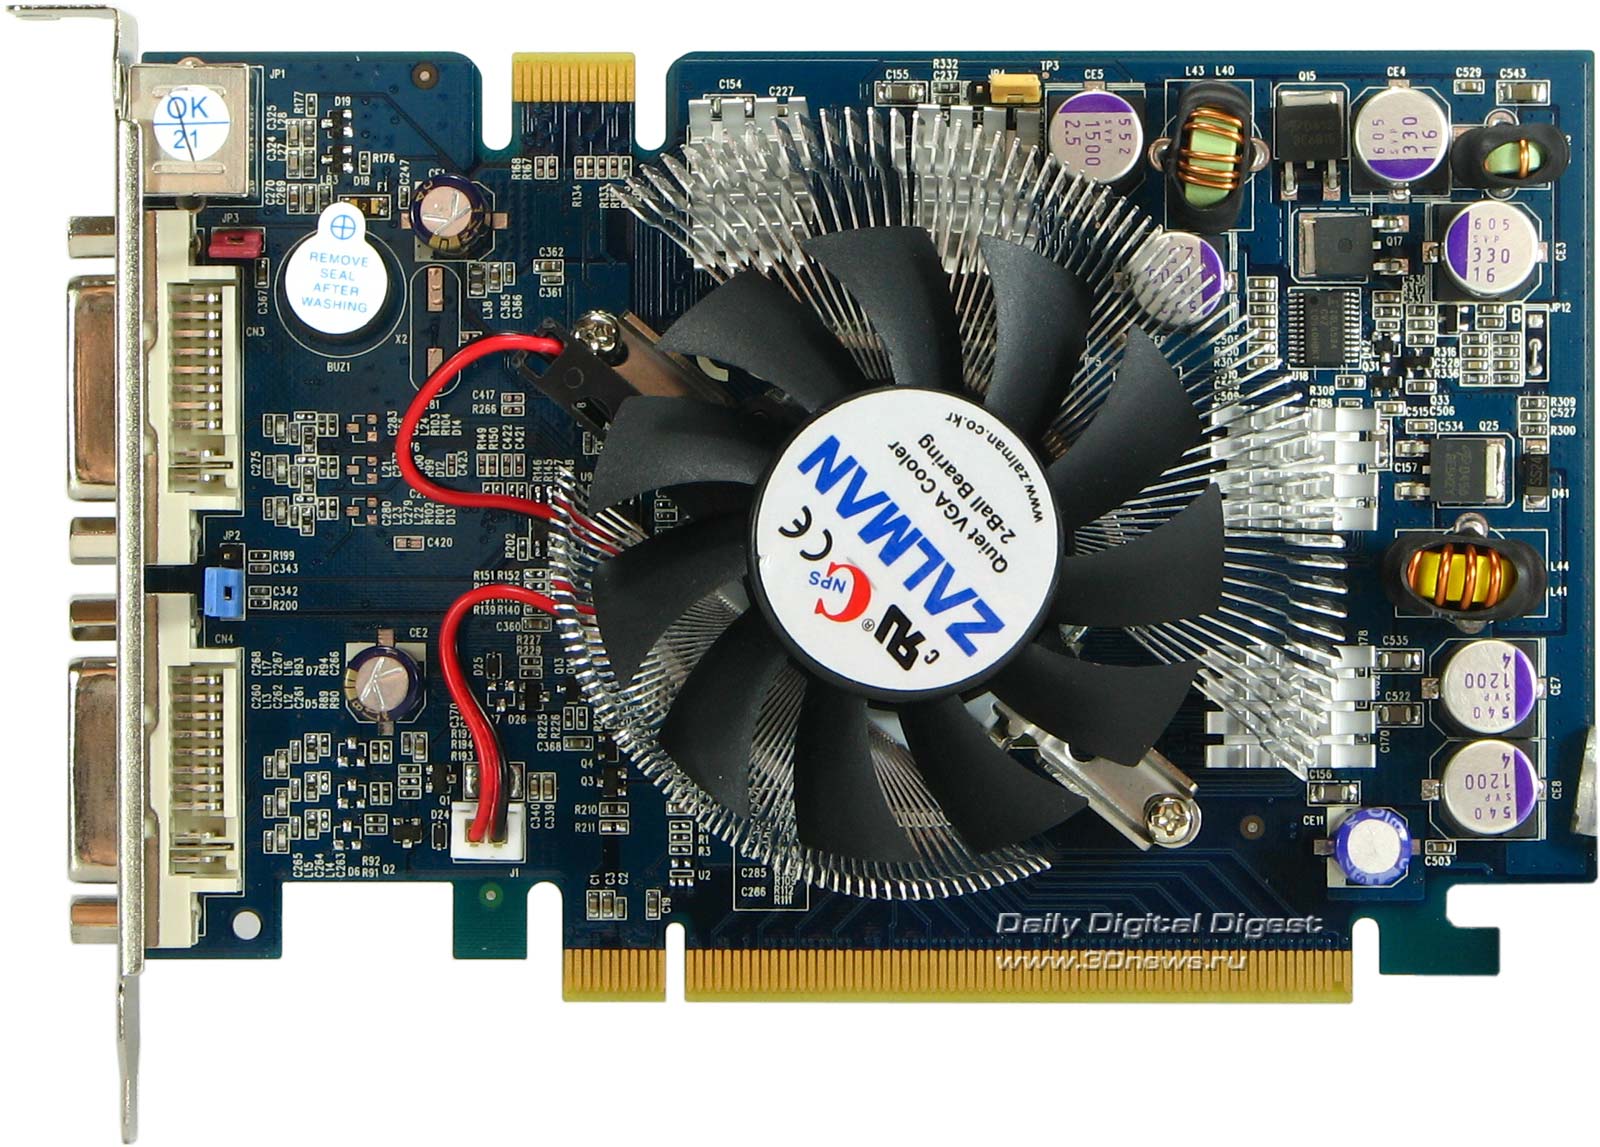
There are two more jumpers on the PCB. The yellow jumper (JP4) is reserved for future applications and is currently not used. The red one (JP3) is in charge of the integrated speaker which is to give signals on overheating the GPU. Its operation threshold is about 70-75 C. Actually, we were unable to reach such a temperature even during the overclocking. Great part in that was played by the GPU itself which features in a modest power consumption and the Zalman's cooler installed on Galaxy 7600GS. There are two more jumpers on the PCB. The yellow jumper (JP4) is reserved for future applications and is currently not used. The red one (JP3) is in charge of the integrated speaker which is to give signals on overheating the GPU. Its operation threshold is about 70-75 C. Actually, we were unable to reach such a temperature even during the overclocking. Great part in that was played by the GPU itself which features in a modest power consumption and the Zalman's cooler installed on Galaxy 7600GS. Needless to say, with this cooler the video card Galaxy 7600GS leaves the most pleasant impression in terms of noise - simply because there is no noise at all. Interestingly, none of the 7600GS video cards presented on the official web site of Galaxy is equipped with a Zalman cooler. In fact, there is a simple explanation to it. This video card was to appear first at Computex only which started today in Taiwan, along with the announcement of the dual BIOS technology.
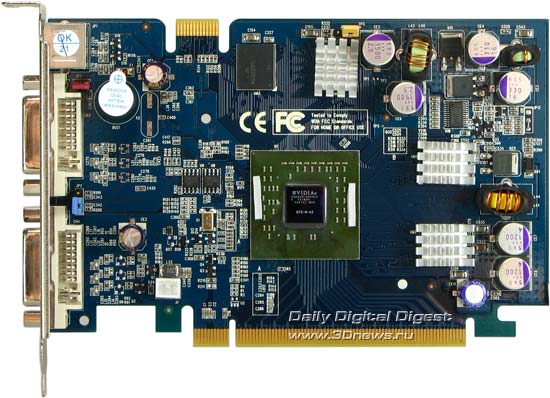
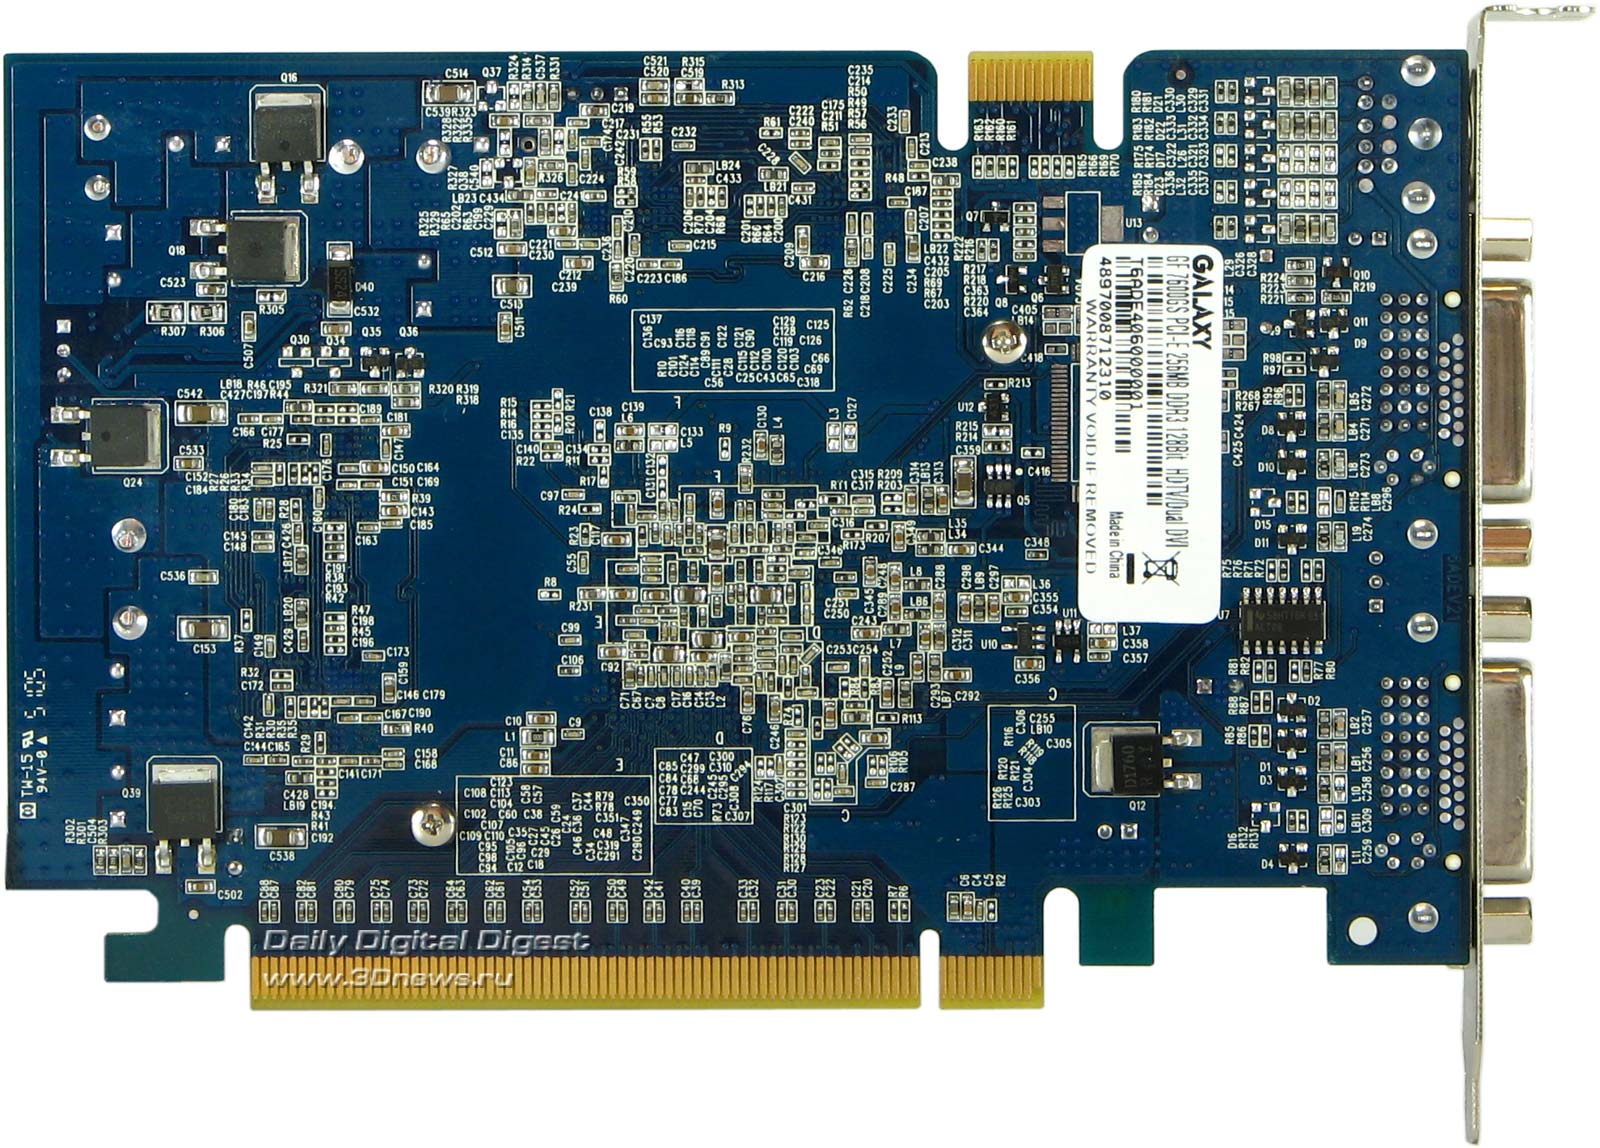
Distracting from contemplation of the cooler, we can see that the PCB design of Galaxy 7600GS is of own development and more resembles that for 7600GT. The similarity is caused by that there are 4 DDR3 video memory chips and not 8 DDR2 typical of "regular" 7600GS. The radiators on memory chips are fixed with dual-sided thermo scotch tape. We removed one of the radiators to take a picture of the video memory, but we'll talk about that later.
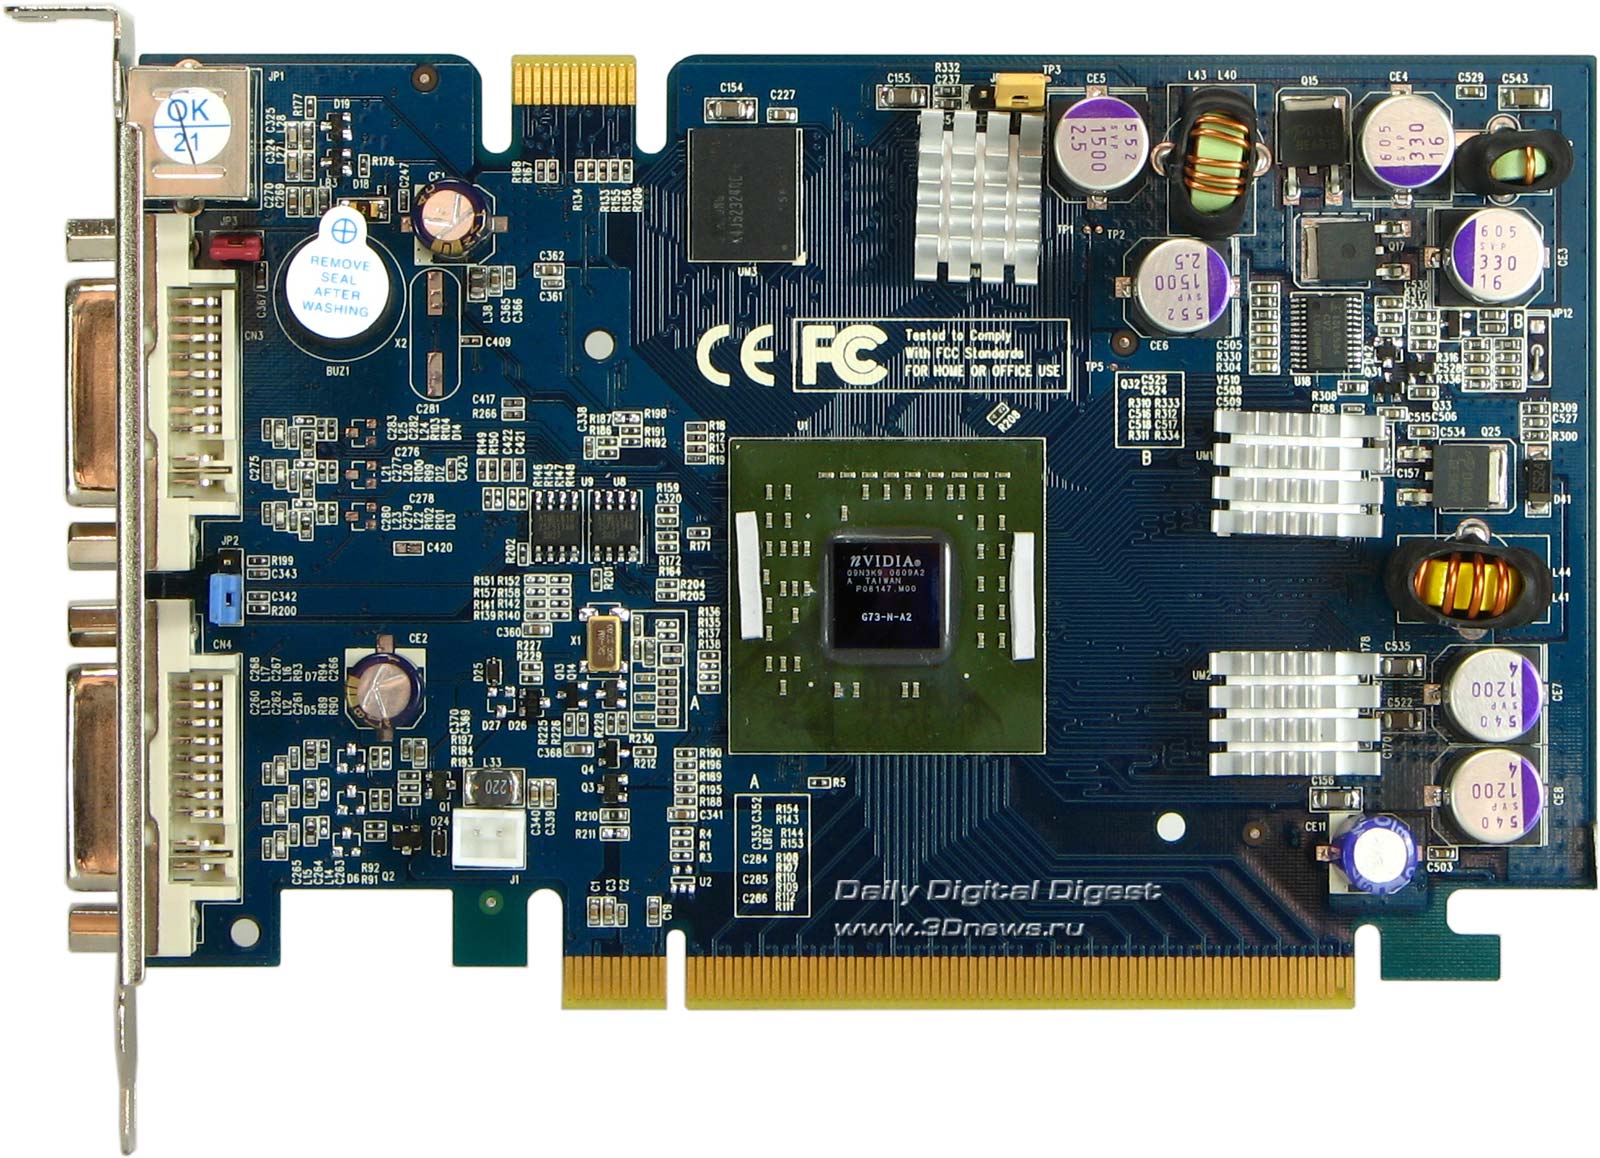
There are no essential components on the reverse side of the PCB, but there is space for a video capture chip (closed by a sticker).
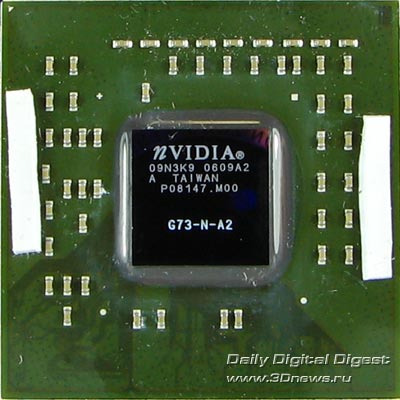
The GPU looks like a "regular" G73, but here we are in for another surprise. The nominal operating frequency of the VPU is 500 MHz! As it turned out, the video card is able doing much more, but we'll be talking about that when get round to overclocking.
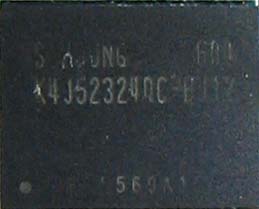
Here is another surprise. This time, we were surprised by the video memory. Galaxy 7600GS uses DDR3 video memory chips by Samsung of 1.25 ns access time, which is equivalent to the nominal frequency 1600 MHz! Nevertheless, the nominal video memory frequency equals 1400 MHz DDR. However, a very good overclocking capability is seen! The overall capacity is 256 MB, and four chips are sufficient because they are of 512 Mbit density.
In fact, Galaxy 7600GS leaves a strange impression, doesn't it? The GPU operating frequency is much closer to the typical frequency of 7600GT, and the frequency and type of of the video memory fully coincide with the 7600GT specifications. What is left is to see how the Galaxy 7600GS will show its worth in overclocking and tests.
 |
Content: |
 |
|
|
Top Stories: |
|
 |
|
MoBo:
|
|
|
|
VGA Card:
|
|
|
|
CPU & Memory:
|
|
|